Wendell Folks RV-8 Project - Page 81.
January 29, 2008: This was the day Wendell's airplane project officially became an "airplane" instead of a collection of parts. He had the FAA designated airworthiness representative there for the airworthiness inspection and passed it of course!
At the end of the work day, I went over to help with a few things that needed
to be done. I had him level up the airplane again to drain the fuel from the tanks.
He needed to confirm the amount of unusable fuel that would remain in the tanks.
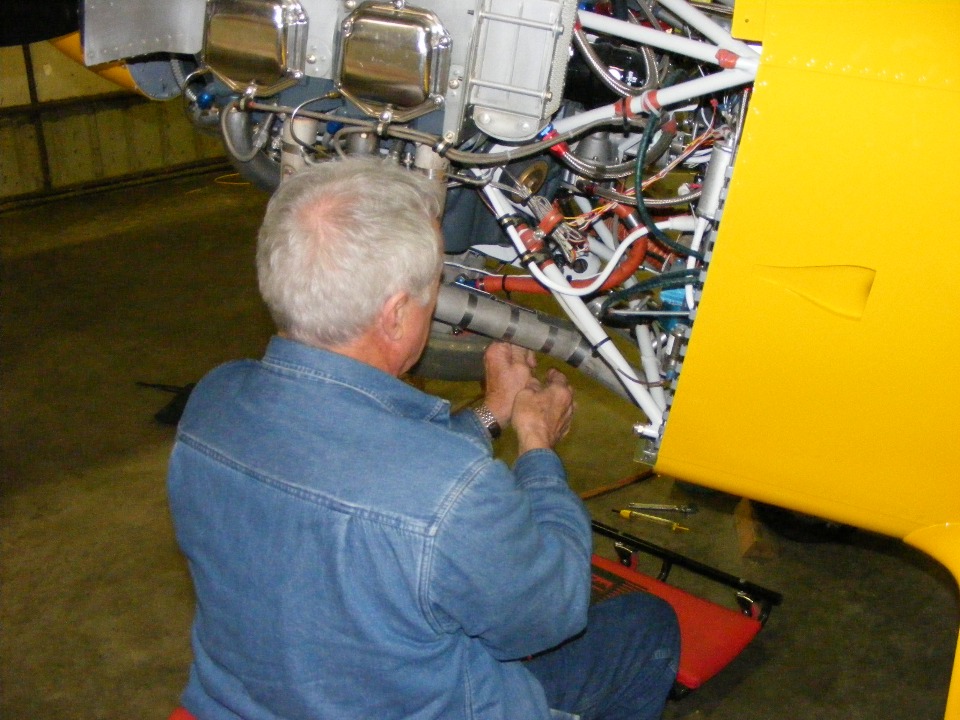
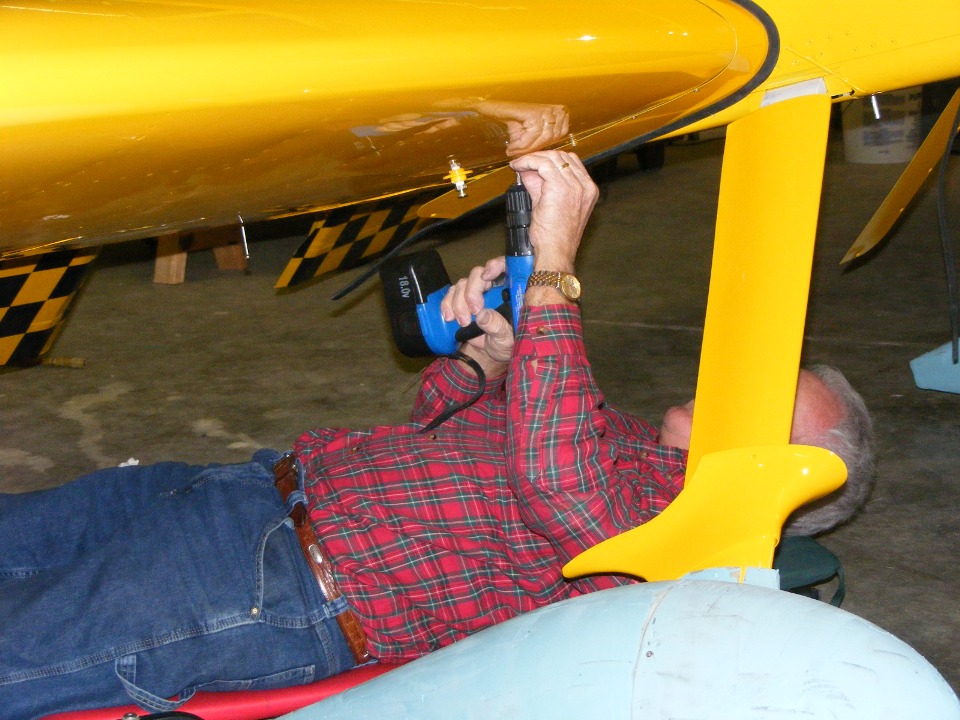
With the cowl off, the fuel line to the carburetor was disconnected to pump the
fuel into clean jugs. The electric fuel pump managed to drain one tank virtually
dry, while the other had a few ounces remaining. I gave each fuel fitting from the
gascolator to the carburetor another check with an 11/16-inch wrench to be sure there
would be no leaks. Wendell is shown here putting things back to flight condition
after the fuel measurements.
I showed Wendell how to hook up the LIFT RESERVE INDICATOR air lines from their probe under the right wing. The air hose held a few feet away and blowing on the probe confirmed the proper connections of the two air lines. The probe is mounted to the aileron bellcrank access plate. We also tightened up the COM antenna under the pilot's seat on the bottom of the fuselage. This is a job that requires two people, one inside and one underneath the fuselage.
This is the first photo showing the canopy skirt fully painted. I made a
cardboard template of a doubler plate to be mounted inside the canopy for the lock to be
installed a few days from now. When I folded it to shape, Wendell got the idea of
what I wanted him to make and how it would be attached to the canopy frame and the
fiberglass skirt.
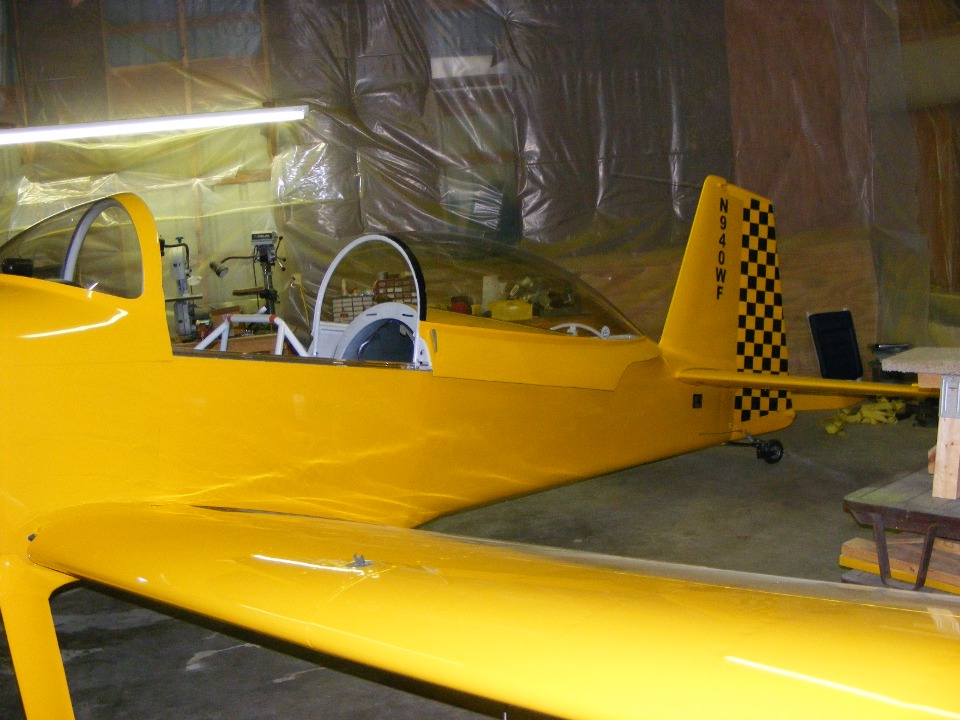
The fuel cap locking tab is UP as a reminder that there is no fuel in the tanks.
Wendell brought out some square wooden hardwood dipsticks read to be marked when he
begins pouring in fuel in two-gallon increments. The paint job is not completed yet.
A pair of metallic blue trim lines will be added to the fuselage sides similar to
the lines on his Aeronca Champ.
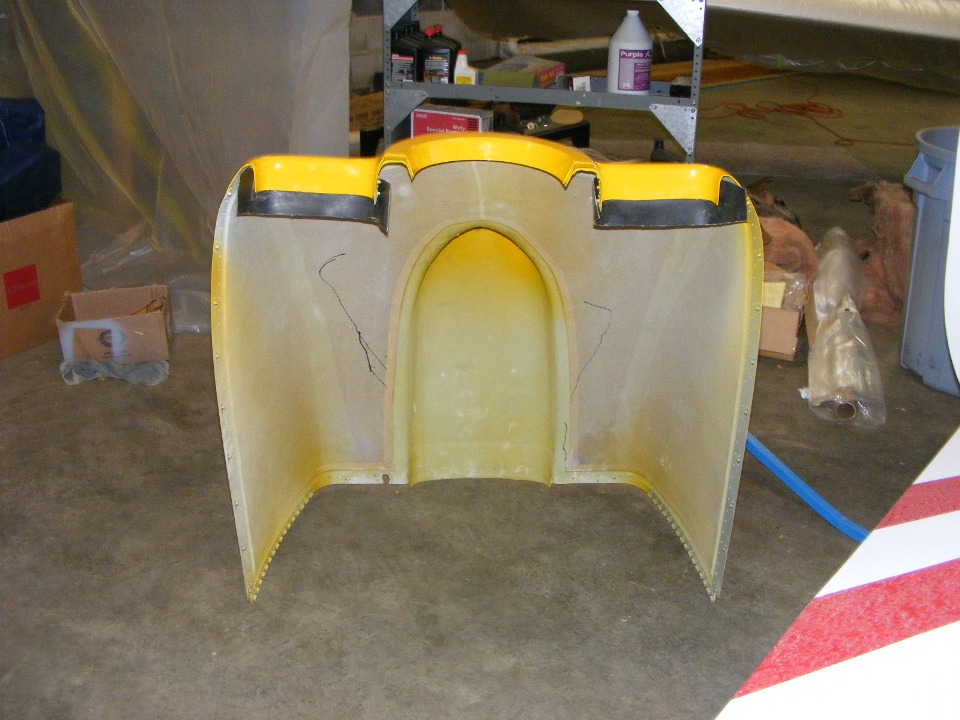
Before I left for the evening, Wendell asked me to show him where the heat
shield material needs to be mounted inside the lower cowl. With it pinned in place,
I put my arm inside with a large black marking pen and made these marks. Wendell was
holding the shop light when I was drawing and understood where the heat would be a
problem. He has seen the inside of my cowl and knows what to do next.
January 30, 2008:
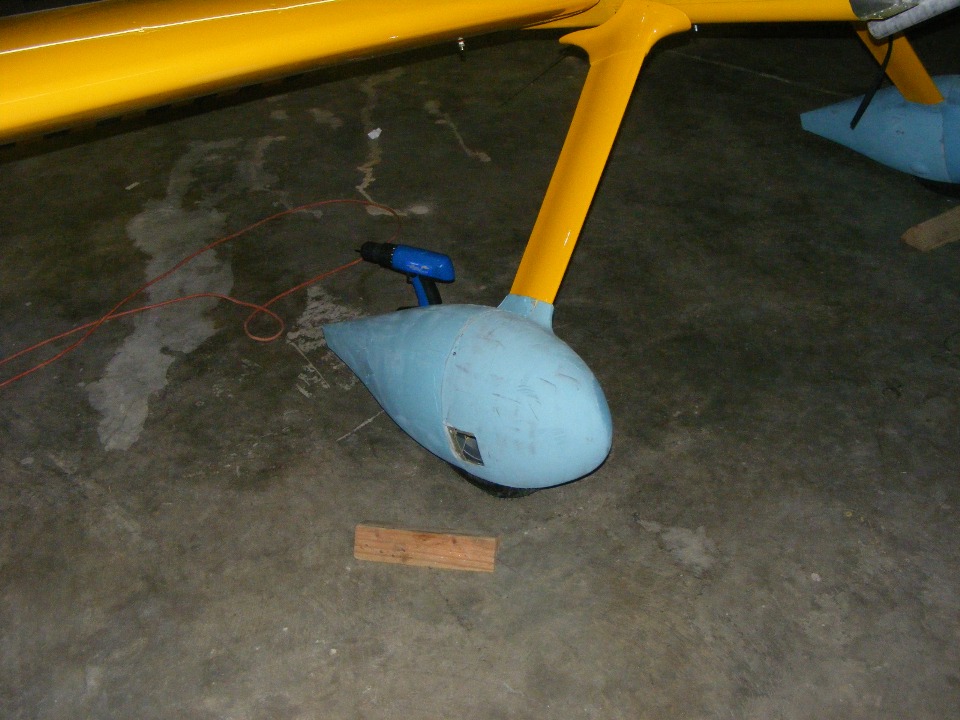
Wednesday night and back over at Wendell's place again. Tonight is the night
the wheel fairings get their final fit to the airplane. No, that is not blue primer.
It IS a filler that covers the entire surface of the fiberglass shells that make up
the wheel fairings. This is a "brute force" method of filling all the
pinholes in the fiberglass. Wendell asked me to guide him on how much the wheel
openings needed to be enlarged before the painter gets them back to continue finishing
before a coat of primer goes on them. I showed him the "one finger"
clearance method that I learned from other builders who went before me.
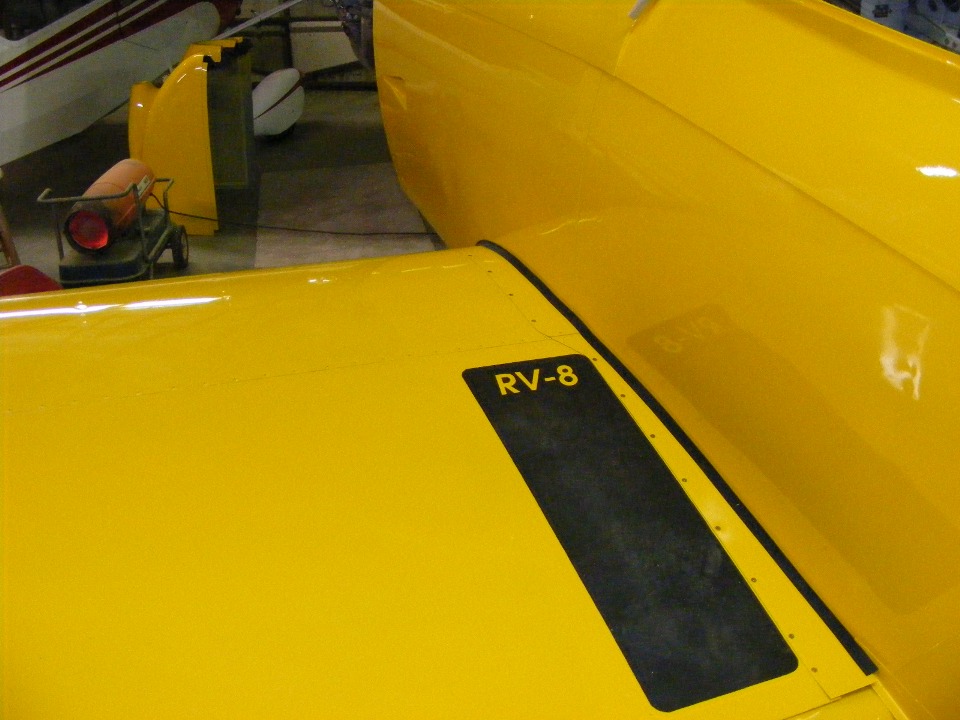
I forgot to mention that we installed the wing walks last night. If you
look at the second photo near the top of this page, you can see a hint of black showing
the wing walk that is clearly visible in the photo below. Tonight was the night the
wing root fairings were installed.
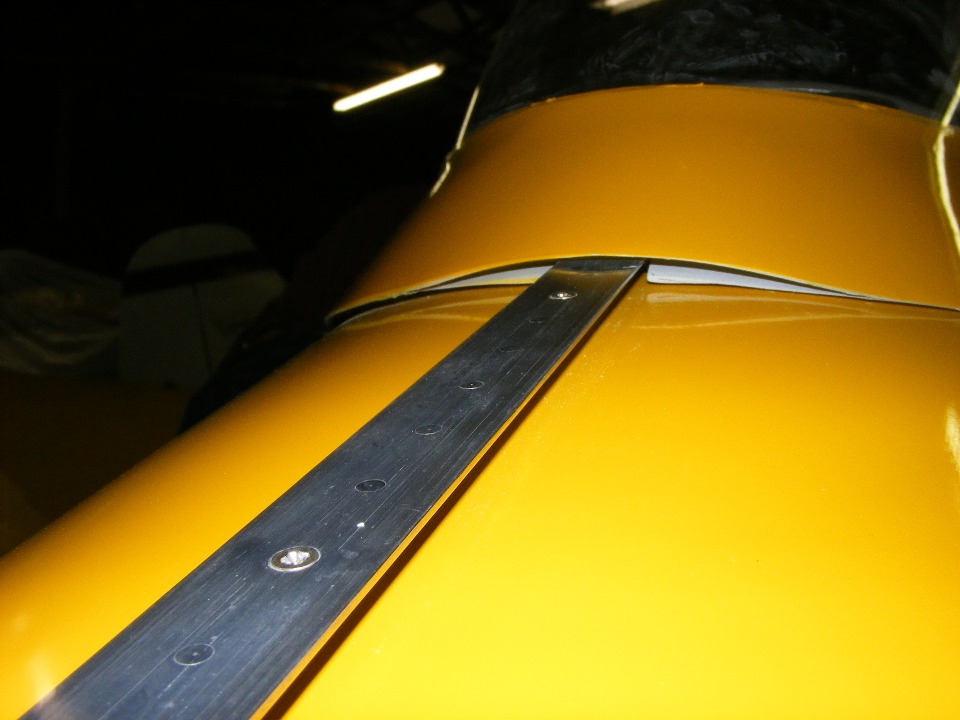
Between Wendell and his painter, they got this idea when they were working on
the canopy skirt. The real skirts are joined at the aft center of the canopy frame
and bubble above the slider rail. You can see them shown in white primer and the
notch in them to clear the rail. All the yellow painted area is extra fiberglass
that was added to hide the notch and bind both halves better. The camera is down
right on the rail and in close-up mode to event show this feature.
The main thing I did tonight was to help Wendell install the wing root
fairings. Once they were aligned and some screws were put in them, Wendell could get
them fitted the rest of the way around the leading edge of the wing.
The same process seen above is repeated on the other wing fairing down under.

| CLICK for Folks PAGE 82 | Return to Other RV Menu | Return to Main Menu Page. |