N2PZ in the Paint Shop - Page 147.
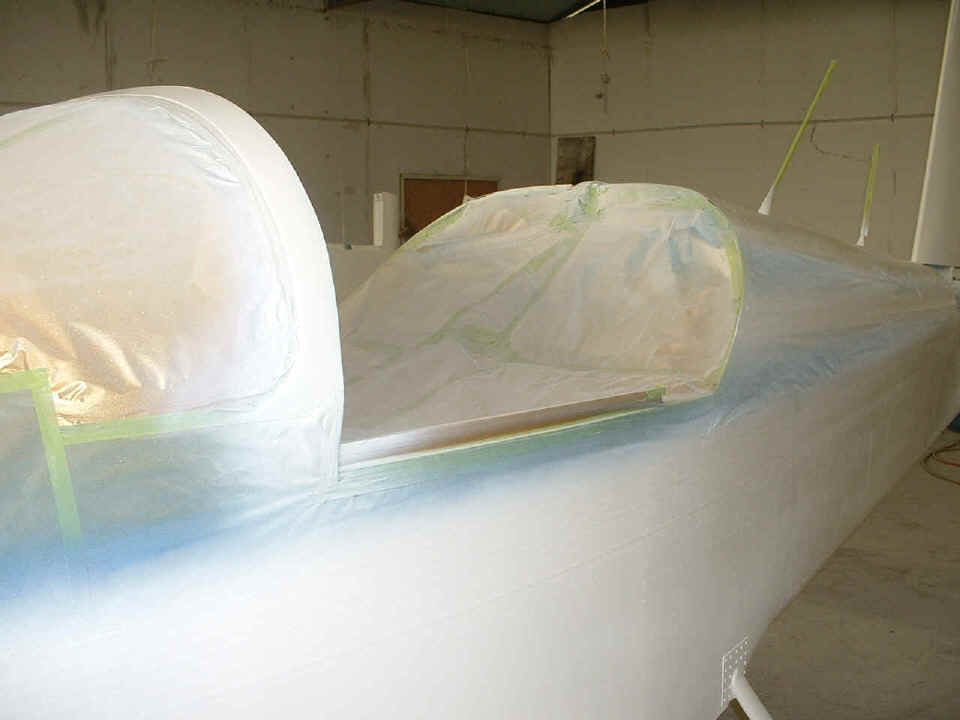
July 15, 2005: The overspray on the
protective layers of tape and paper give hints to the gold and blue trim colors underneath
each new layer.
The trim stripes on this side are also hiding under the protective tape layers.
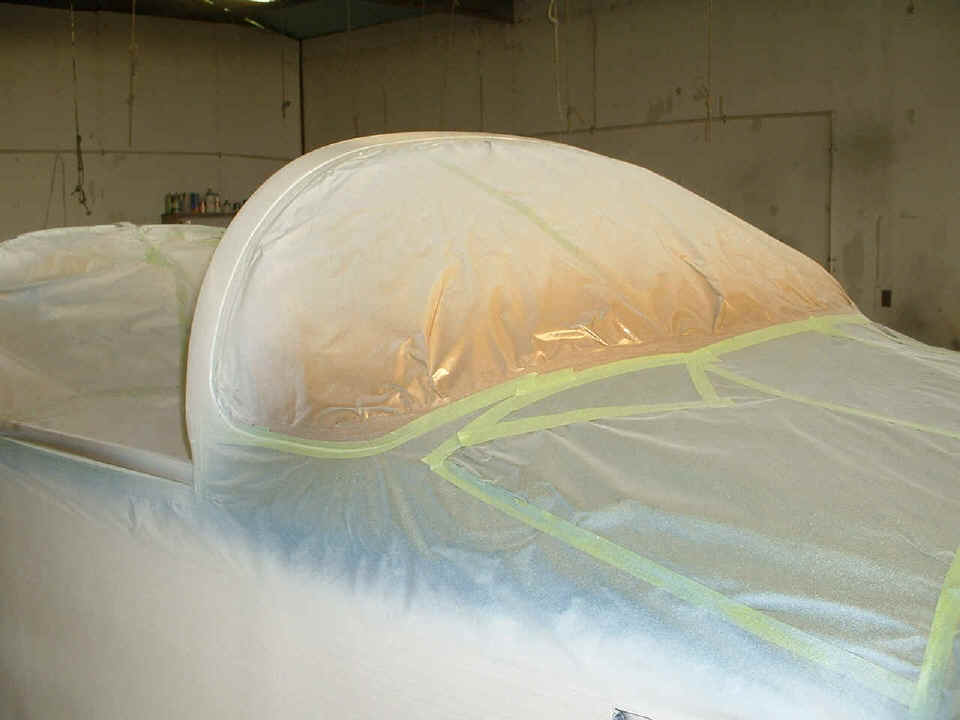
The canopy skirt has all three colors on it. A white stripe that is
3/4" wide is exposed just to the LEFT of the top of my cup. The area below the
protected plexiglass is gold as indicated by the overspray on the paper. The blue
overspray hints at the trim stripe that is about a foot above the cup.
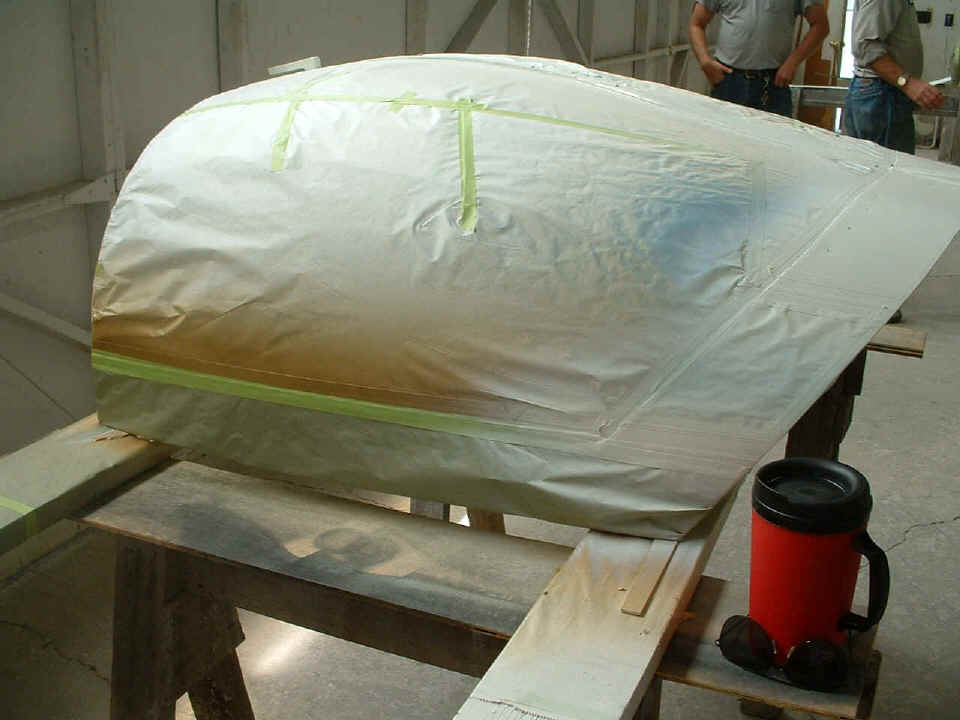
The last shot for today shows the cowl and the other fiberglass parts in
process. The shaded appearance is due to the white epoxy primer being covered with
the blue trim stripe area. The next steps are to tape over the desired blue area,
then apply the gold color. After that goes on, the GOLD will be taped over along the
desired trim area, then the Pearl White will over spray the remaining exposed surface.
When all that is done, the protective tape and paper will be removed, then CLEAR
COAT will go over all the exposed colors. That is the same process that will occur
on the airframe. I will have more photos soon.
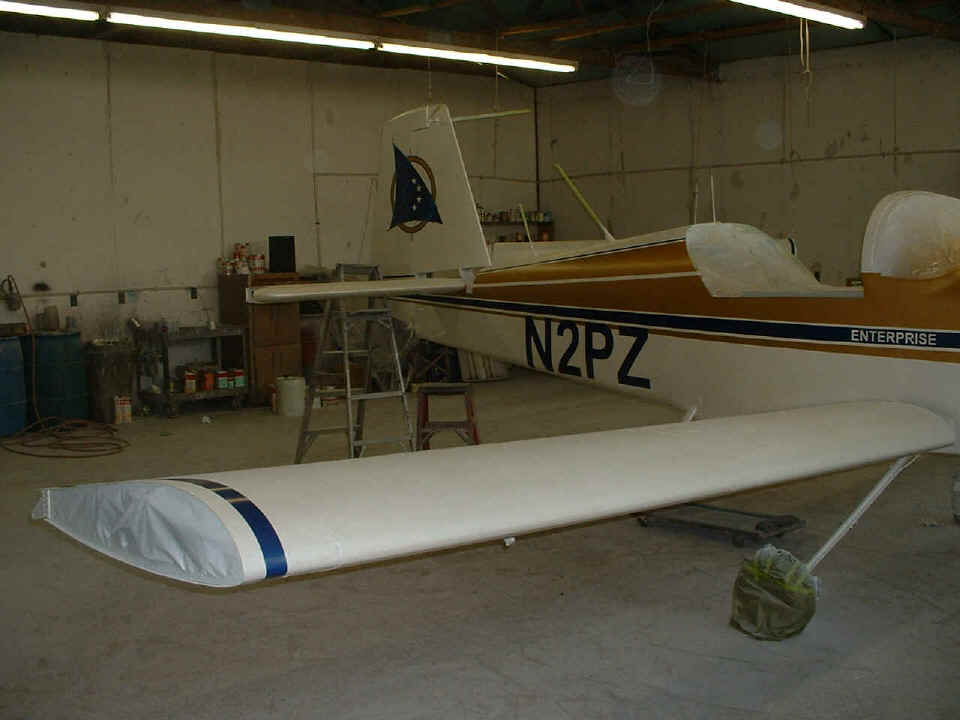
July 18, 2005: Monday,
time for a visit to the paint shop. Bill had told me he would be doing the clear
coat today. To do that, he has to take the tape and paper off all the paint.
Before he starts on the clear coat, I would have a chance to see the colors of the paint
scheme. So here is what I found when I was at the shop this morning. I had the
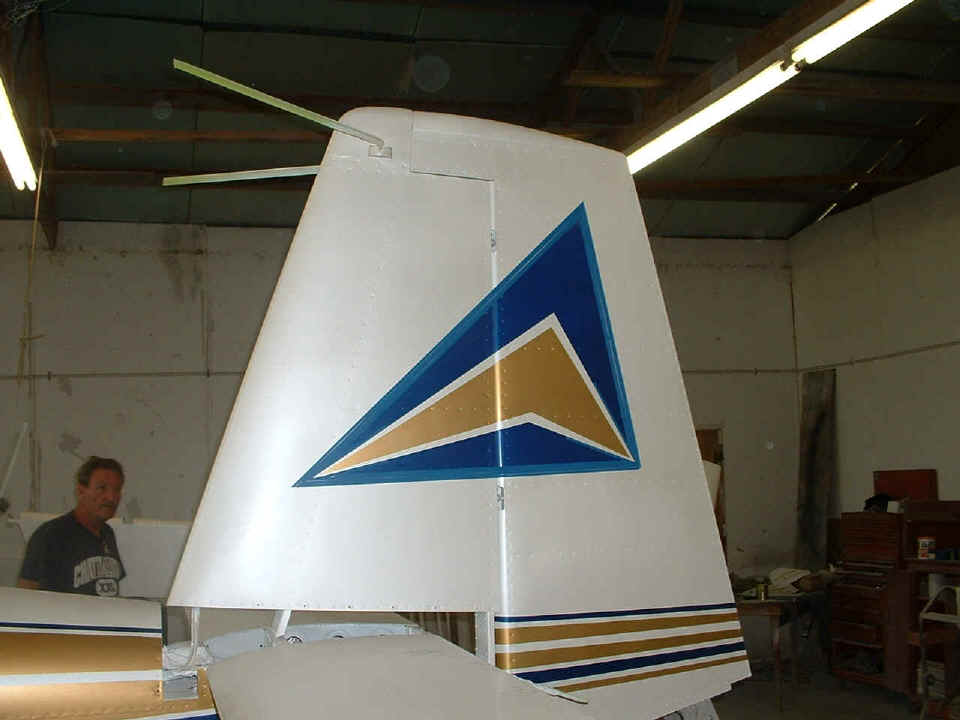
idea that the "triangle" on this side of the tail was too small. Bill had
the rudder off working on the "triangle and stars" on the other side. He
got the gold ring "in front of" the triangle and stars instead of the gold ring
in the background.
Since he was going to have to spray blue paint to correct his error on the
other side of the stab and rudder, I asked him to tape up this side to get the triangle up
to 24" high from base to apex. Here is the taped up size of the new outline
that will exist when he is finished. I altered the design on the spot to avoid any
more white or gold paint to be applied. Bill and I both agreed the
"balance" between the blue and gold in the triangle is better with the change.
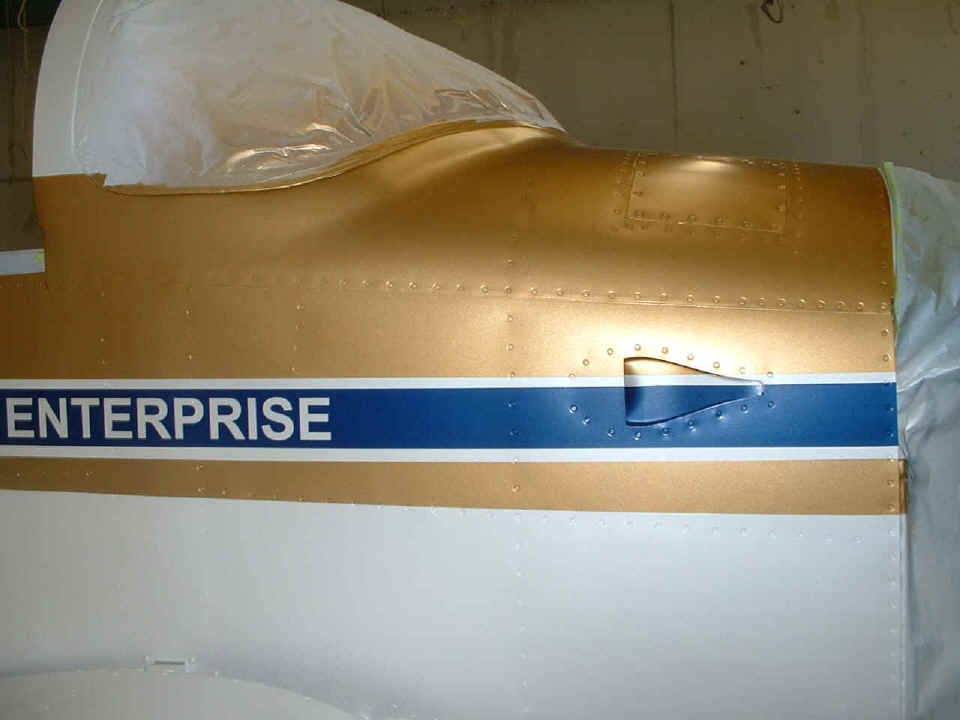
Jeff really did a good job of smoothing the fiberglass transition along the
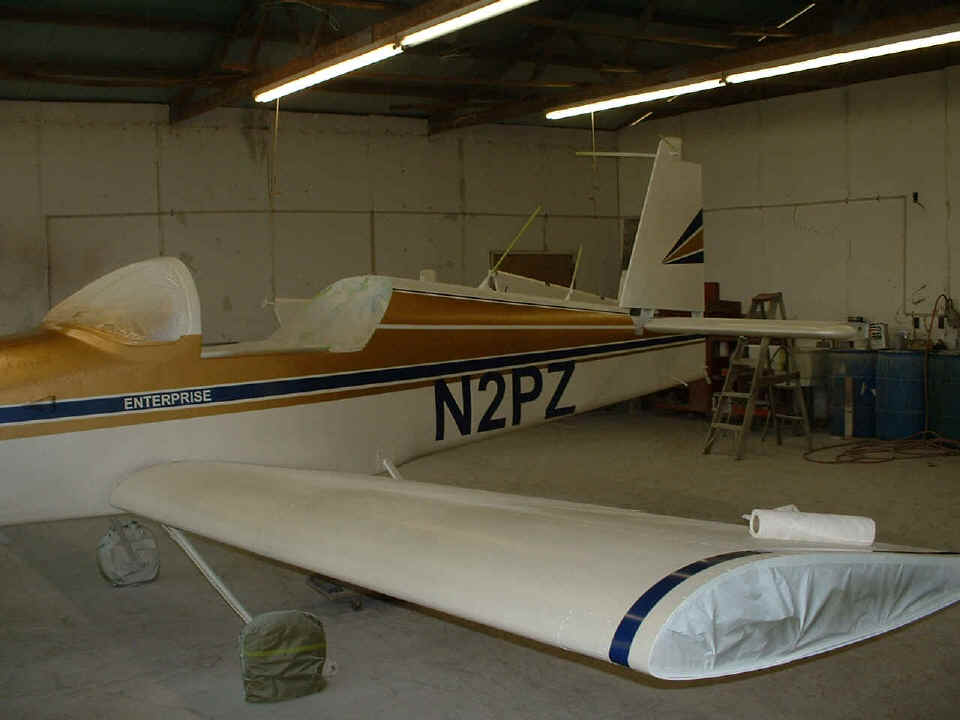
intersection of the windshield to the forward top skin. Bill got the blue trim
stripe top edge centered on the air vent as I wanted. The top of the gold by the
windshield aligns with the top of the gold on the side skirt of the sliding canopy.
It will look better when you see the canopy installed and closed.
The wide shot on this side shows where Bill wet-sanded the gold OFF of the top
of the blue triangle. He has also taped over the stars on the rudder in preparation
for spraying the blue on again to repair his earlier error. When that is done, the
clear coat gets put on the entire airplane.
That's all for today and for this page from the paint shop.
| CLICK HERE for Paint Shop - PAGE 148. | RETURN to MAIN MENU. |