Airport Assembly - Page 131.
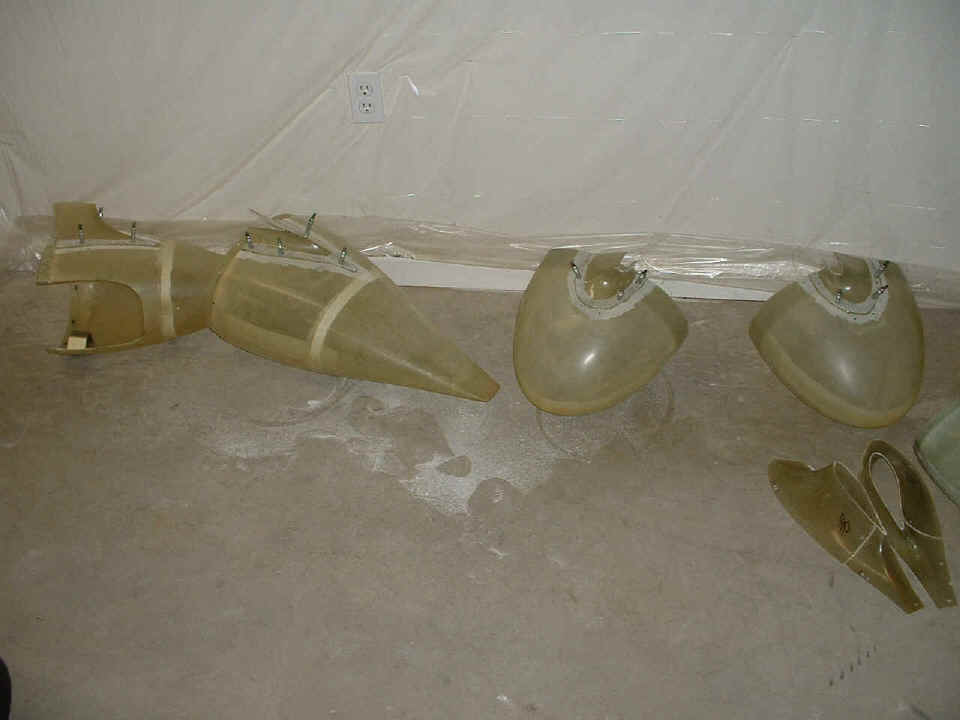
May 28, 2005: The day started at home in the
garage working on the wheel pants and the lower intersection fairings. I used the
Dremel sanding drum at the lowest speed and sanded the regions of the wheel pants and the
intersection fairing where epoxy was applied to hold them together. I used clecoes
to keep everything properly positioned until the epoxy can fully cure.
Tomorrow, I will pull out the clecoes and put on a couple of layers of
fiberglass and more epoxy to cover the cleco holes. I zoomed in a bit for this next
photo to show how the epoxy oozed out and covers some of the sanded area adjacent to the
bonded area. All that extra sanded area will get fiberglass strips placed there in
the next work session. The total time worked in the garage this morning was 1.3
hours before I headed off to the airport and "good weather" instead of rain.

At the airport, I had two visitors that wanted to learn about the RV series of
airplanes. I did my usual presentation and pulled out the large drawings to show
things that are hidden inside the wings, not readily visible. They insisted on
taking my picture, so I made sure they also took one with my camera to post on this web
page.

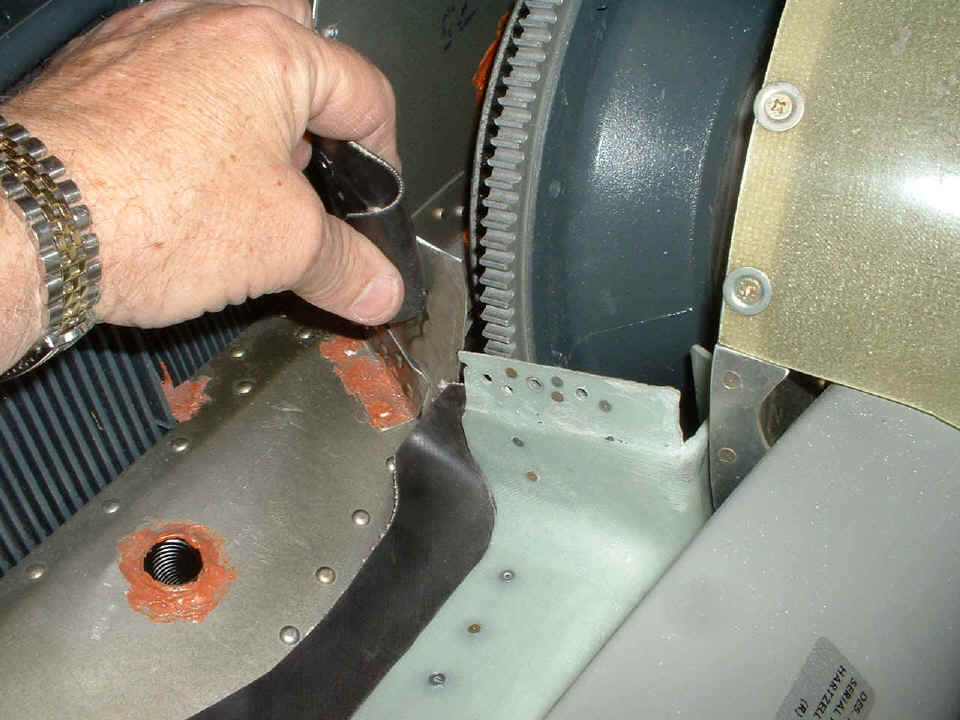
I ended up taking the cowl off to show them the engine and discuss some of its
features and the Light Speed Engineering Plasma III ignition, etc. When I was taking
it off, I decided to fix the two areas of the cooling baffles that have made cowl
installation and removal a bit difficult. The end result was what I hoped to
achieve, easier on and off for engine access.
Not long after this, I got another pilot who was just "hanging around" the FBO lobby to come down to the hangar for the roll out of the airplane to start the engine. I even had a chance to test the brakes after we cleared the hangar threshold. Since the plane was moving ever-so-slightly down hill on the ramp, I had him use the tow bar to turn it away from the hangar to keep the prop blast from blowing into the hangar. Then I reached down to the master switch and it was already ON, and had been all night and all day. Needless to say that the 3.3 volts in the 12-volt battery was not going to do anything, and it didn't! If you go back to the last picture on page 130, you can see that I left the master switch in the ON position.
I apologized to the pilot for the "false start", and I pushed the airplane back into the back corner to take off the upper cowl again and put the battery on to charge. No, I did not take a picture of the airplane outside on the ramp. I had to pull a Cessna Cardinal out of the way to get my bird outside, then of course, I had to put the Cardinal back in its proper position.
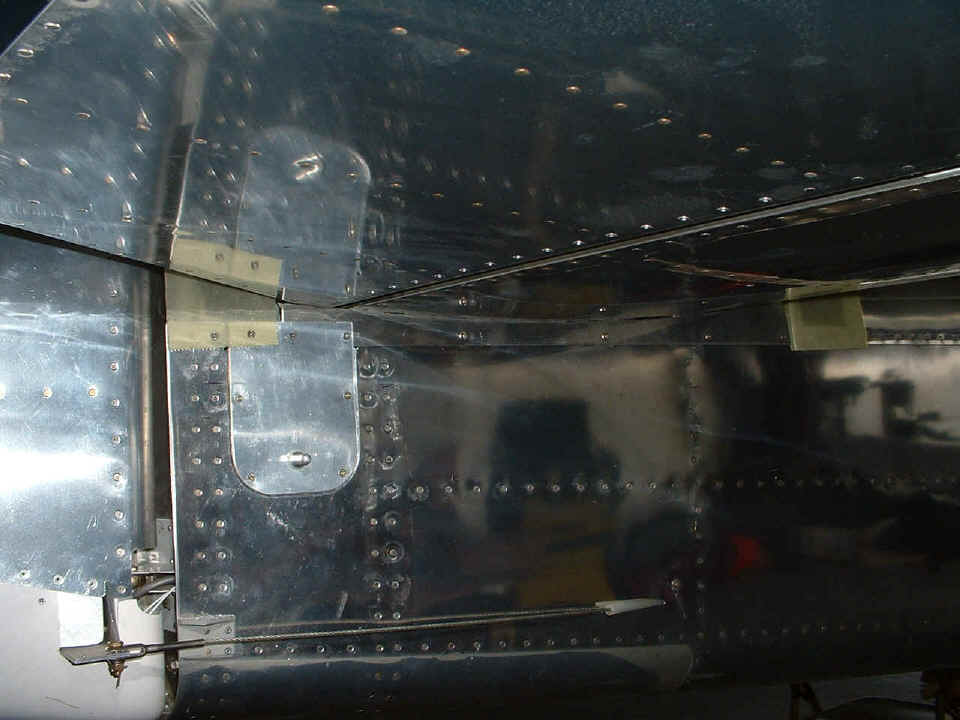
I went back to work on the empennage fairing - a fiberglass part. In
order to get the fiberglass fairing to fit properly, I first had to put on the aluminum
plate that serves as the lower empennage fairing. Look carefully and you will see
that strip of aluminum under the horizontal stabilizer and between the two ends of the
fiberglass fairing that goes up over the horizontal stabilizer. I also had to drill
three new holes in the elevator arm access plate and through the longeron at the top of
that plate. I had to tap eight holes with 6-32 threads and put in some screws.
I can see I am going to be using a lot of thread locking compound on these screws
since they go into the longeron, not platenuts. Yes, I know that access plate is not
installed correctly at this time. I was, after all, back-drilling some holes to
other layers, etc.
At this point in time, I have drilled ONLY two holes in the fiberglass empennage fairing. I will get the others done tomorrow when the lighting is better. As for the battery, the voltage had come up to 6.22 volts DC by the time I put the voltmeter away and headed out the door for home around 8:30 PM tonight. There were accomplishments today, and lessons learned about the master switch and "circuits that are OFF" and should NOT be drawing any current. The current draw was of course, the solenoid relay coil itself, since all the other breakers were OFF to the autopilot and all other lights and avionics. I have decided that I will not pull the breaker to the autopilot anymore, since it has RED LEDs on it and makes gyro noises, it is a good reminder to turn off the master switch.
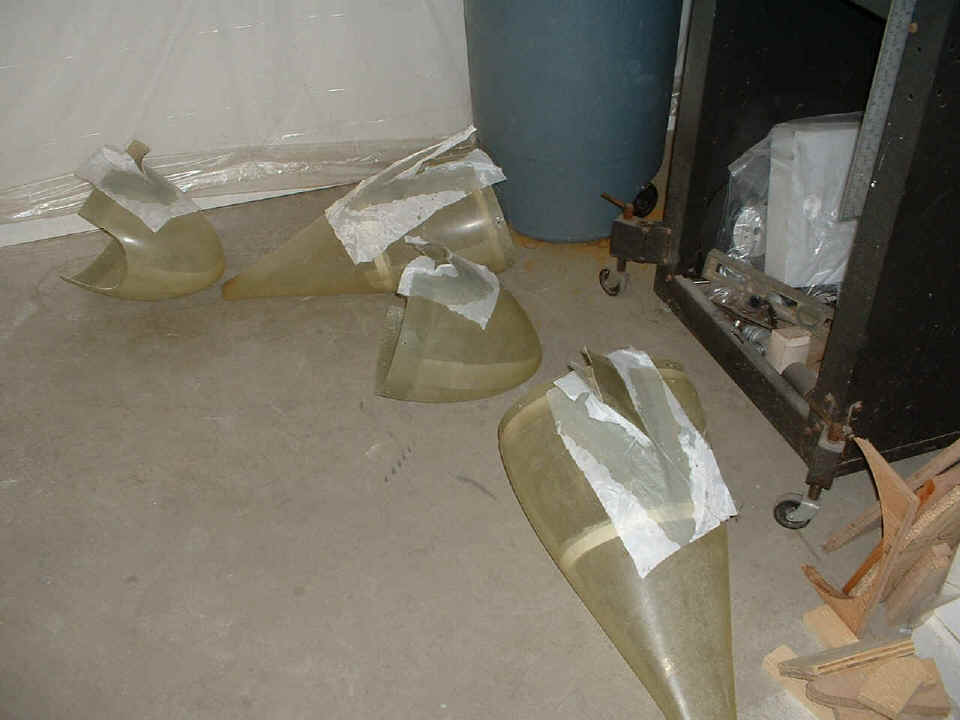
May 29, 2005: I started
the Sunday session in the garage working on the wheel pants and the intersection fairings
again. This time I put on a couple of layers of fiberglass over the joints I created
yesterday to give them the strength and smooth transition needed here. As always, I
used the Peel Ply Dacron fabric to provide a fine-grain texture over the heavy fiberglass
cloth. When I got home from the airport tonight, the epoxy was sufficiently
cured to
pull the Dacron off and look at the little bit of sanding and filling I will have to do on
these pieces. The total time was 2.1 hours to sand the joints from yesterday, and
the areas where the clecoes were removed, then put on the new glass, etc.
At the airport, the first thing I did was check on the battery charging process. The red LED on the smart charger was still lit indicating that it was still on full-rate charge mode, not trickle charging. I checked the voltage and found it was at 13.3 volts when I arrived at 3:30 PM. When I last checked it around 9 PM, the voltage was at 13.9 volts, but the full-rate charge mode was still running. The green LED should be on when I get there in the morning showing a full charge has been established, and the trickle charge mode is engaged.
I resumed work on the aft section fiberglass fairing for the empennage.
In these close quarters, the old-fashioned way of tapping a screw thread worked the
best. This is the view on the underside of the horizontal stabilizer on the LEFT
side of the aft fuselage. A similar picture from the right side is just two pictures
above this one, but it shows the end results, not the process.
| CLICK HERE for Airport Assembly Page 132. | RETURN to MAIN MENU. |