WING KIT CONSTRUCTION - Page 4.
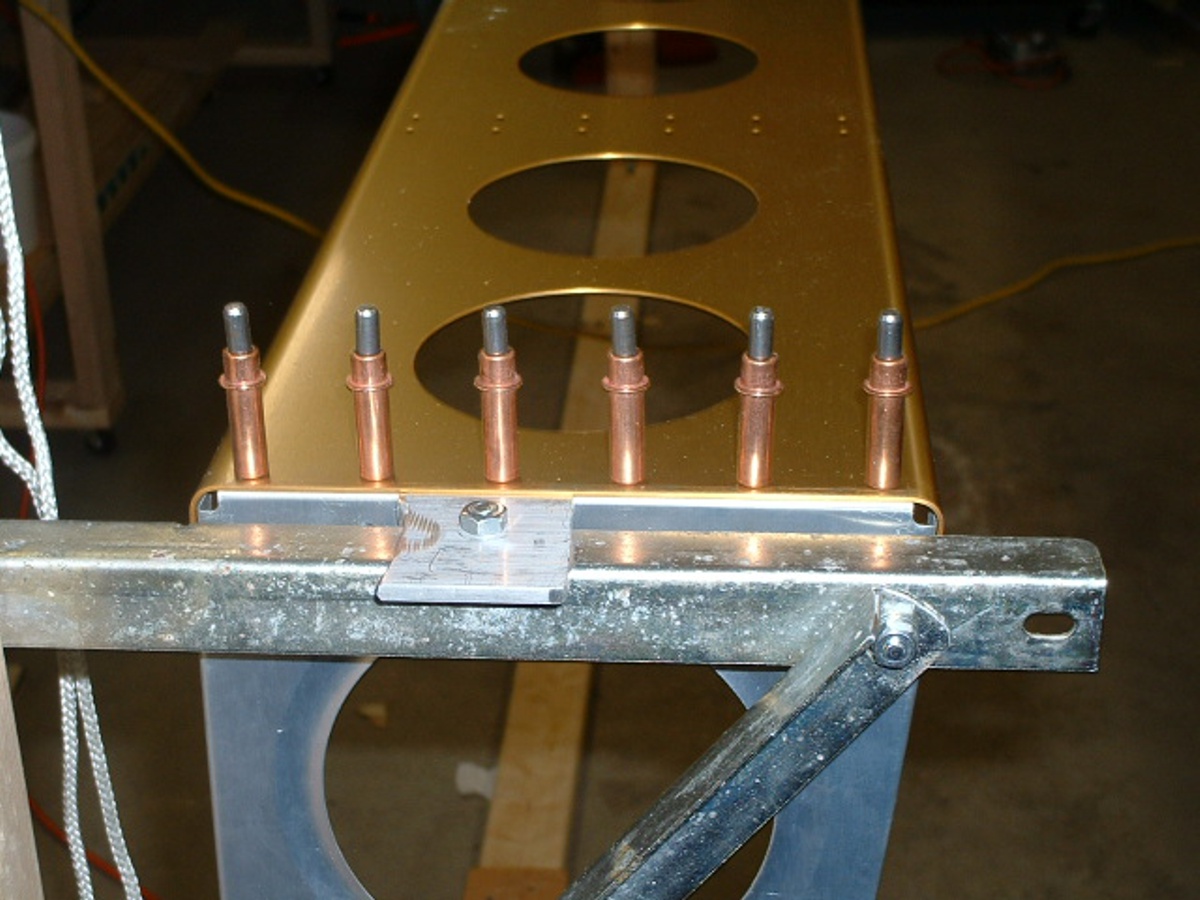
January 14, 2003: The wing jig metal work is
completed for holding the wing spar. I still have to put the lower cross bars on
each of the 4x4 uprights to hold the rear wing spar. After that, I can start the
actual preliminary assembly with clecos, drilling holes to size for rivets, etc.
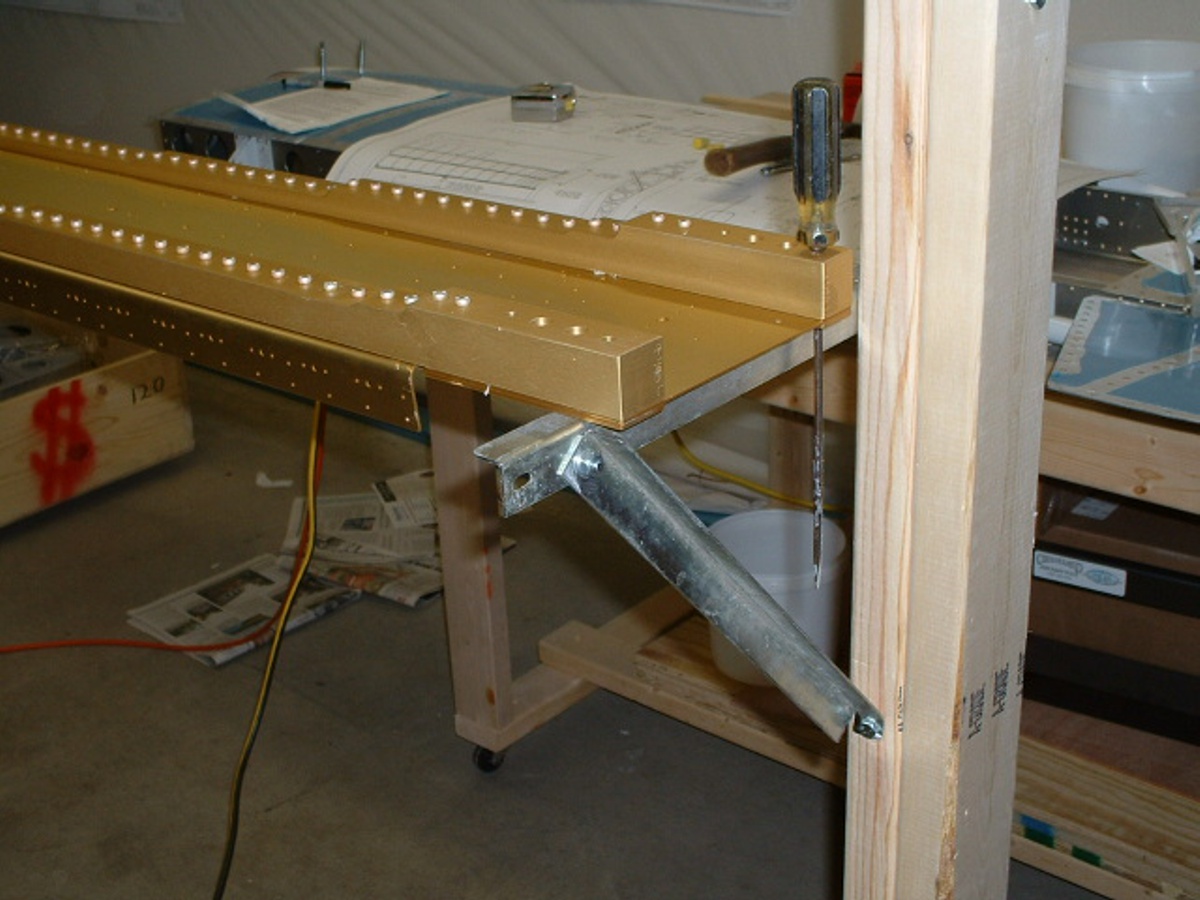
I used a left over piece of aluminum angle and drilled some holes in it for
1/8" clecos to start. I get the feeling that I am going to enlarge these to
3/16" clecos since there is going to be some weight involved here as construction
begins. The other side of the aluminum angle is visible in the photo below.
You can see that I have put a 1/4" bolt though it and the steel cross bar. My
trusty rope from the ceiling hook served as my helping hand when I was finding the right
spot to place the cross bar on this end of the wing jig.
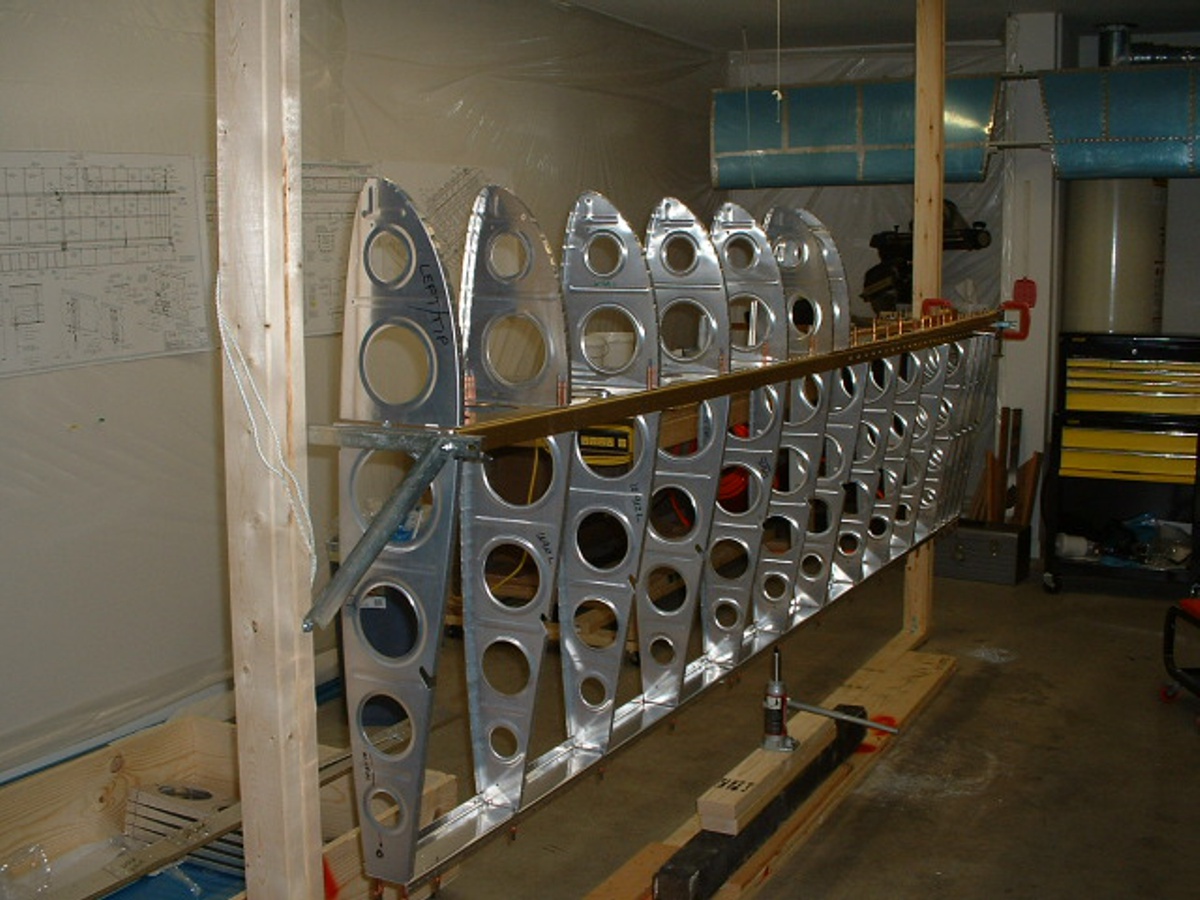
The overall view as seen from the garage door area.
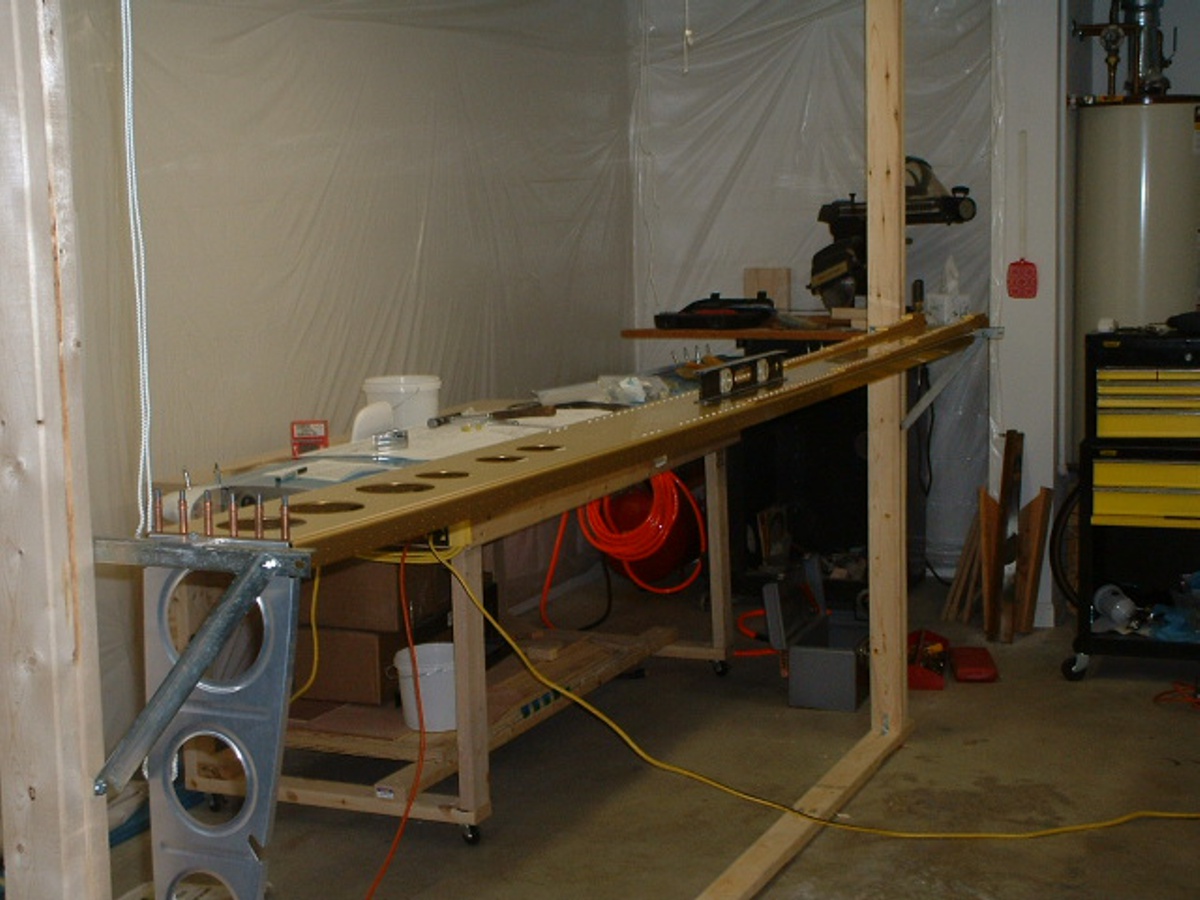
As you can see, I have tried my best to level both ends of the jig. Yes
there is sag in the spar due to gravity. I will find out just how level it all is
when the aluminum wing skins go on later and I square the assembly up with a hydraulic
jack as the skins are going on.
As you can see, the trusty screw driver is there to keep the heavy end of the
spar from falling off the jig during this preliminary alignment procedure. Both
cross bars are square to the uprights and level. I even checked both ends of the
spar to see that they are the same distance from the uprights. I hope to get this
wing done correctly, with NO TWIST in it. Before actual construction begins, I will
put a very thin aluminum shim between the spar and steel cross bar to protect the anodized
aluminum finish.
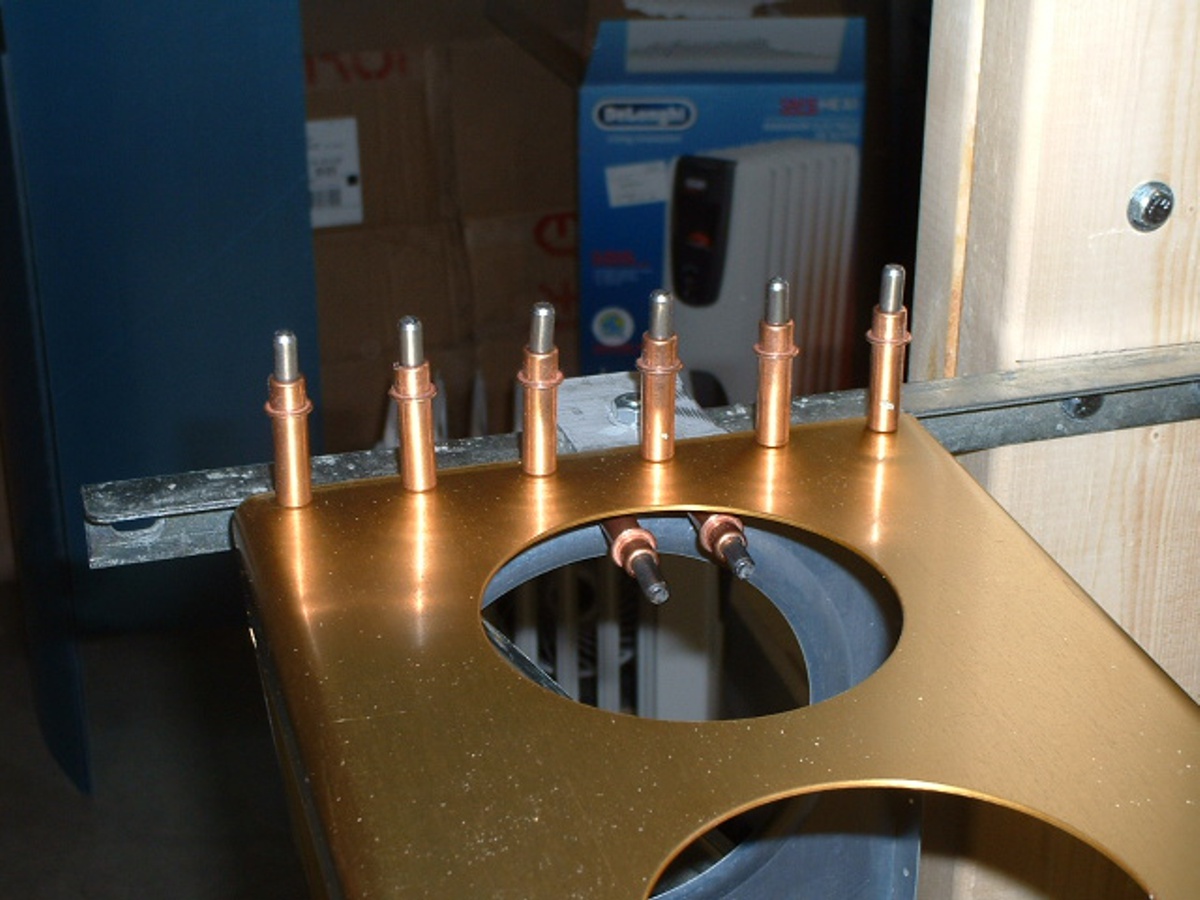
January 18, 2003: I have attached all the
plate nuts to both wing spars for mounting the fuel tanks. All of them have been
properly countersinked per the plans. I have also fluted all the ribs for the left
wing to get them straight. I also clecoed them to the spars, ready for match drilling, and
mating of the skins for the first time. I have taken out the sag in the spars in
preparation for attaching the skins. It is starting to look like the shape of a wing
at last! And yes, I put a new, longer piece of aluminum angle on the wing tip rib to
properly hold this end of the wing for construction.
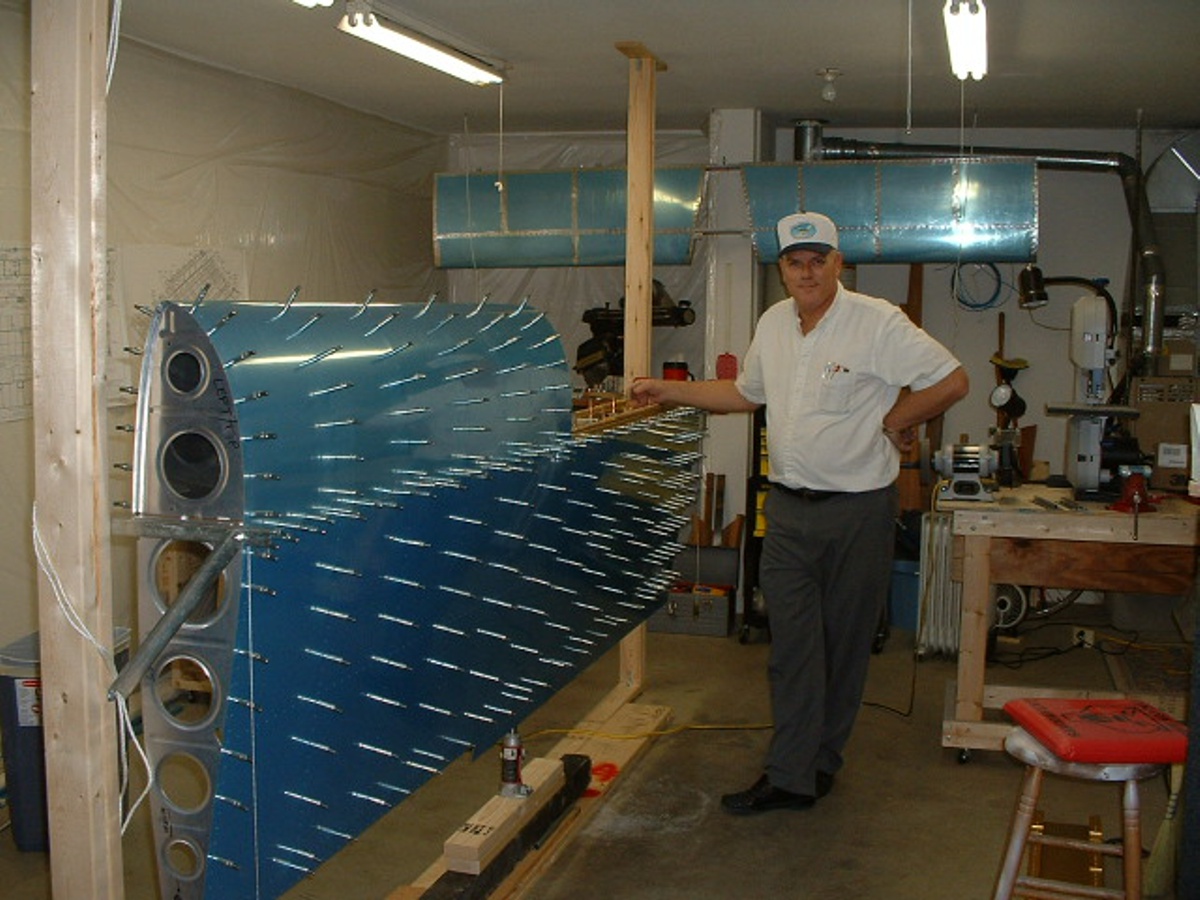
January 19, 2003: SKINS!!! Fellow RV builder
Larry Champion came over today to see the wing progress on my RV-9A. He is building
an RV-8. He is a high-time ex-military pilot and wants to have a little fun for a
change. I got him to take the picture below while he was here today. And of
course, I have on my RV-9A baseball cap from Van's for this first official photo of me and
my handiwork. It is time to do some drilling of ribs, skins and spars before going
on to any other activities. I will pull off about half of the clecos after the
drilling is done in order to have some clecos to work on the fuel tanks. I am going
to have to do some wood working first to build the tank construction jigs and the wing
cradle on wheels for use later. I had to cut some notches into the steel support bar
on the wing tip end of the fixture. Since all I could get was a 1" x 1"
aluminum angle, the skins needed some clearance to go on properly. The Dremel tool
made the notching of the steel easy.
| CLICK for wing page 5. | Return to MAIN MENU |