Flightline Interiors - Abby Erdmann
April 15, 2005: When I was talking with Abby the other day about my seats and interior, I asked her why she did not have links to these pictures on her web site anymore. I offered to post them here on my web site, and here they are for all to see. They are presented in alphabetical order by file name. I will describe each one for those folks who may not be RV-9A aircraft builders.
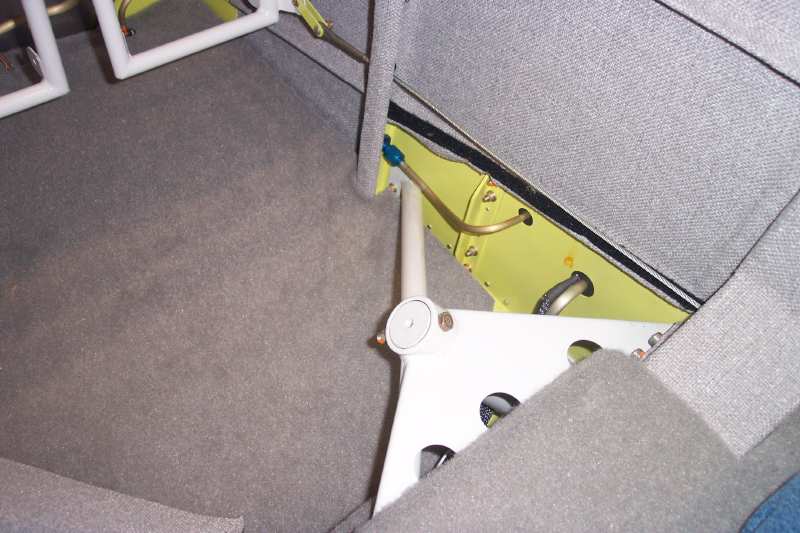
This is a shot of the right main gear leg weldment and the fuel and vent lines
going to the right wing tank. The gray weldment is bolted to the wing spar bulkhead, which
is out of sight at the bottom the photo. The steel bar running vertically in the
center of the photo is bolted to the lower longeron and the doubler plate on the side of
the fuselage. The rudder cable is in the open above some black Velcro that is
provided in the package from Abby.
The second photo shows the gear leg cover in position, secured by the
Velcro strip in the above photo.
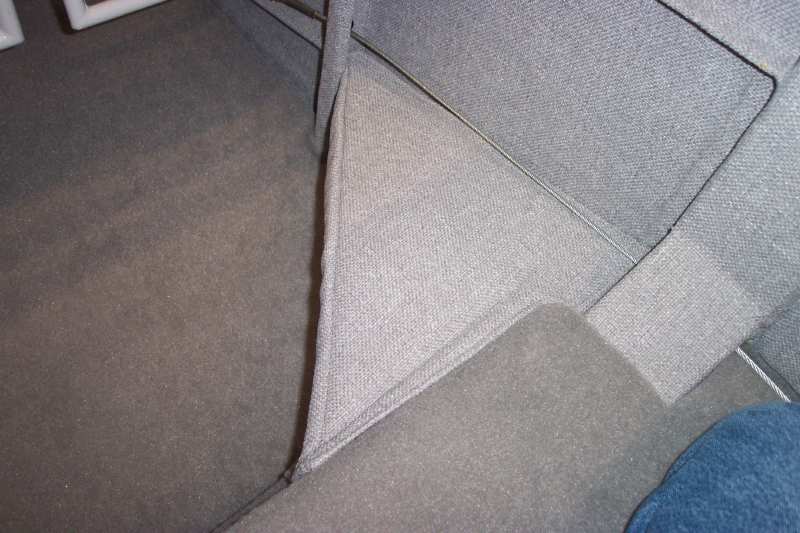
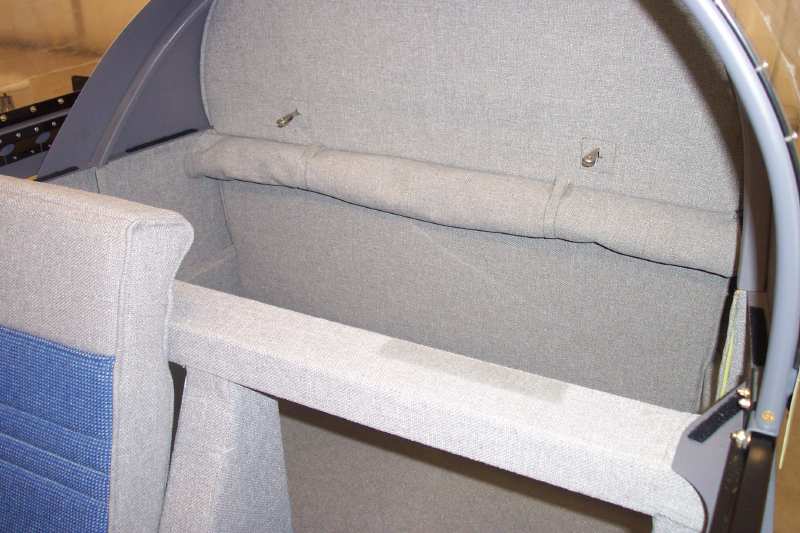
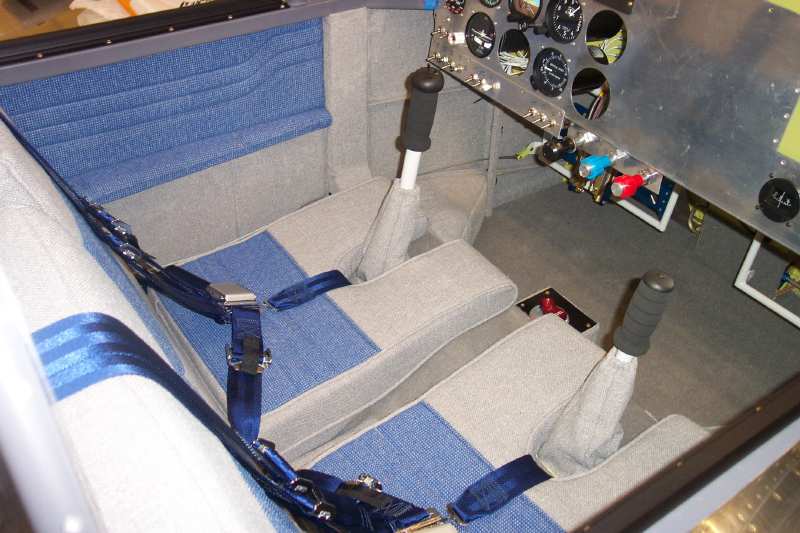
Photo three is looking behind the seats at the back wall. The tonneau
cover is stowed and secured with fabric straps using Velcro patches. The seat belt
harness straps are removed for visual clarity. Notice the black Velcro strips on top
of the longerons at each side of the baggage area, and the gray Velcro across the top of
the bulkhead behind the pilot's seat. Fabric covers the side walls and the flap
actuator cover panels between the seats.
This photo has a clear view of the side wall and the covers over the flap
actuator arms. Abby has created matching fabric strips to cover the small stiffener
bulkheads running vertically up the baggage side walls.
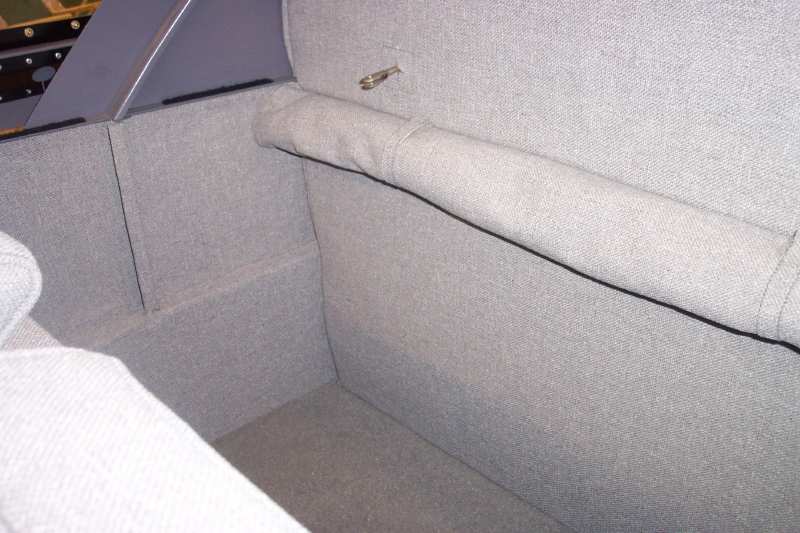
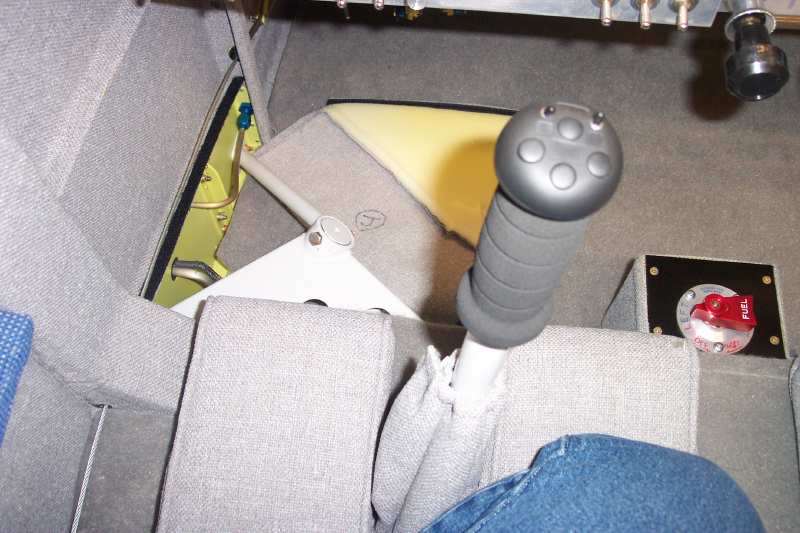
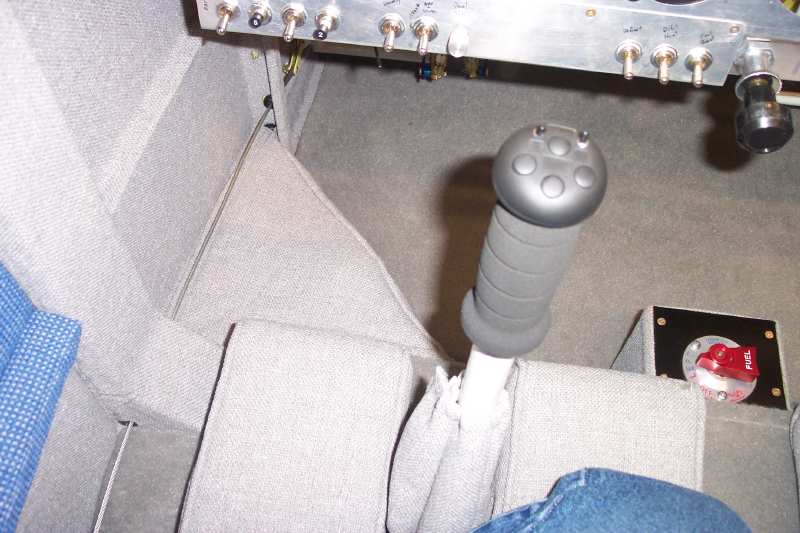
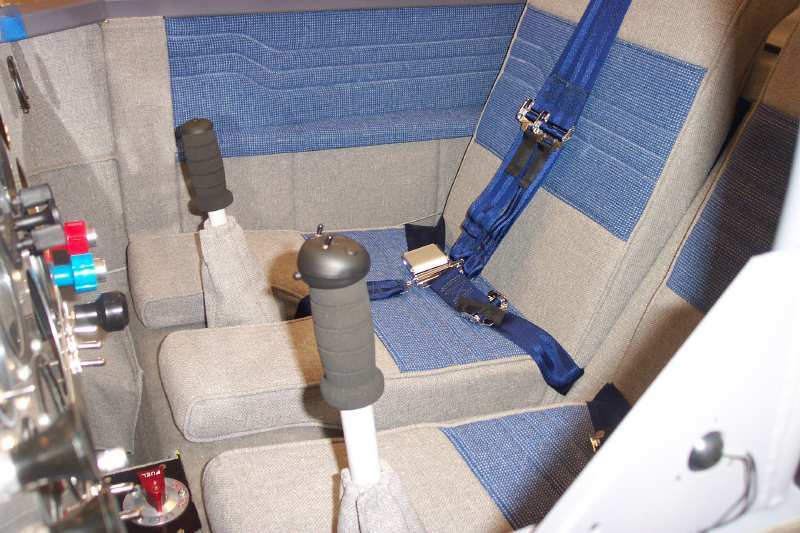
Photo five is looking forward showing many details. The carpet sits flat
on 3/4" thick padding and the center area where the brake lines, fuel lines, and
electrical wiring run from the firewall to the central access area between the seats.
All the metal covers in front of the wing spar bulkhead are covered with fabric.
The metal seat pan area is also covered to hide all the screw heads securing the
two sections to the seat ribs and the wing spar bulkheads. The right rudder cable is
just visible against the right side panel, down low near the seat cushion. This
particular airplane has five-point seat belts and shoulder harnesses.
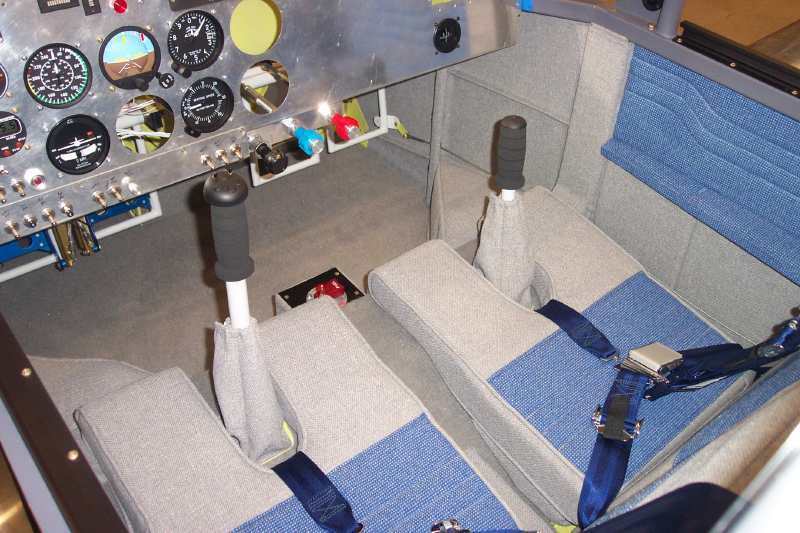
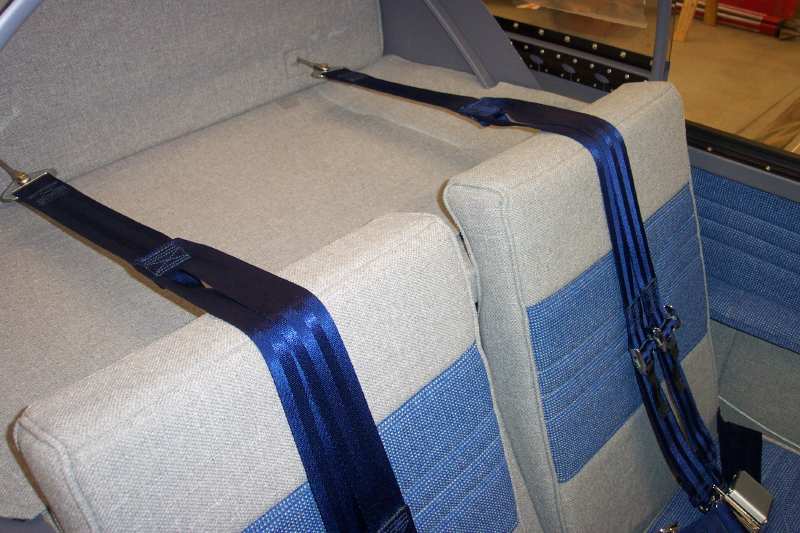
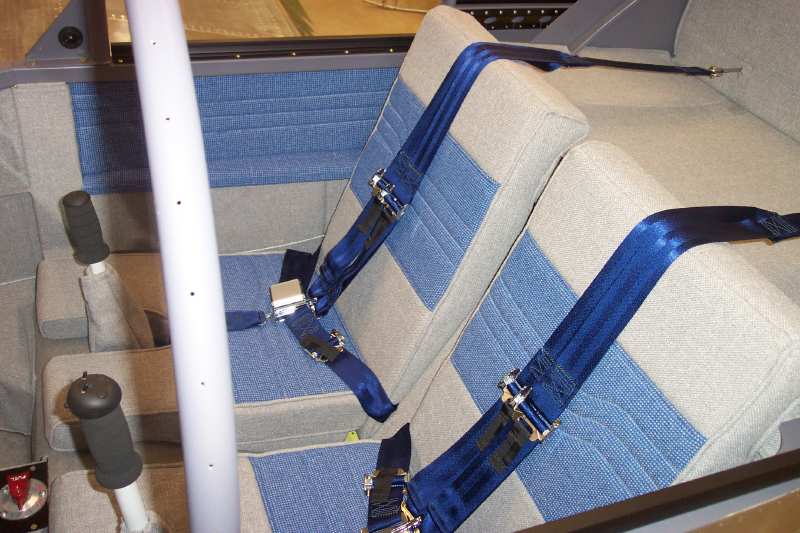
Photo six has a good view of the armrest and the upper side wall panel with
it's decorative stitching. Abby was interested in my "trek" motif and
agreed to put my "star ship" stitching in that area instead of her normal wave
pattern shown here.
The tonneau cover is velcroed in place and the shoulder harnesses are now
connected to the steel safety cables. This hides the baggage area completely from
view and provides a smooth appearance.
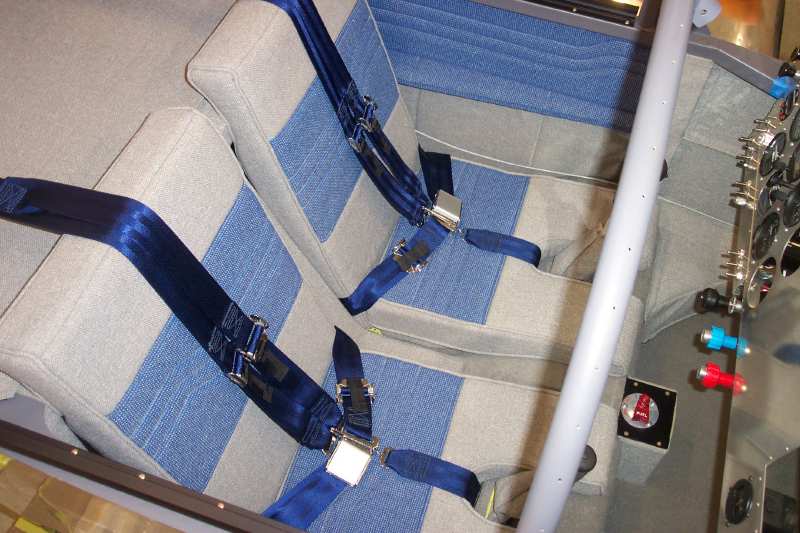
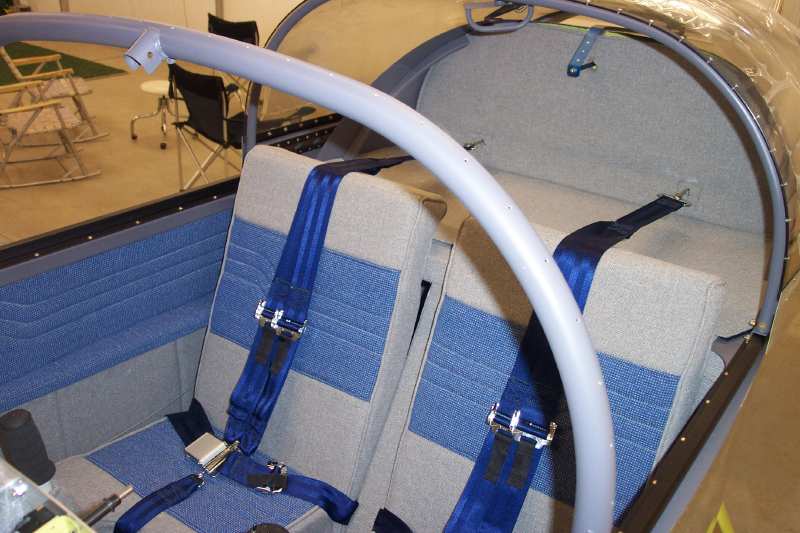
Here is a similar view from a high perspective. It highlights the stitch
pattern on the seat backs and cushions. It also shows the full coverage of fabric
over the seat bottom panels under and between the cushions. The roll bar
for the sliding canopy is seen here without the windshield.
Here is the view of the LEFT gear leg weldment exposed with the cover laying on
the front carpet "inside out" showing the matching Velcro strip that engages the
strip on the side wall stiffener. It looks as if the photographer left a denim
jacket on the seat cushion when this picture was taken.
With the cover in place, this is of course a mirror image of the second photo
at the top of the page.
A high view from the pilot's side shows the way the side wall fabric disappears
under the canopy deck rail at the top of the side wall.

This similar view shows the stitch pattern in the pilot's seat back cushion.
Seeing this interior in place before the windshield was installed certainly
provides a better view of the interior. This is the first photo that shows the aft
slide rail and the all-thread rod that braces it in the center of the fuselage. Abby
uses that brace rod as the reference point for the pattern on the baggage wall covering.
Since I have a pair of stereo speakers in my airplane (for ground use only), I had
to provide Abby with dimensions from that rod to the speakers. This will allow her
to have fabric only, with no insulation, in the 4x6-inch areas directly in front of the
speakers.
This view from just above the longeron shows the alignment of the seat cushion
stitch pattern with the side wall pattern on the standard "type A" seat
cushions. It is just one more example of Abby's attention to detail in her designs.
One minor thing to note in the last photo above is the location of the "eyeball light" in the steel gusset for the windshield roll bar. I had not considered that location in my cockpit layout planning.
I hope you enjoyed seeing all these photos from Abby's web site at Flightline Interiors. I was glad to see they were still online, even if they were not directly linked from her gallery page.
Jerry K. Thorne, ![]()
April 15, 2005
RV-9A N2PZ "N2PRISE" (Enterprise with a Southern Accent)
RETURN to MAIN MENU or click your browser BACK ARROW to return to the page that brought you here.